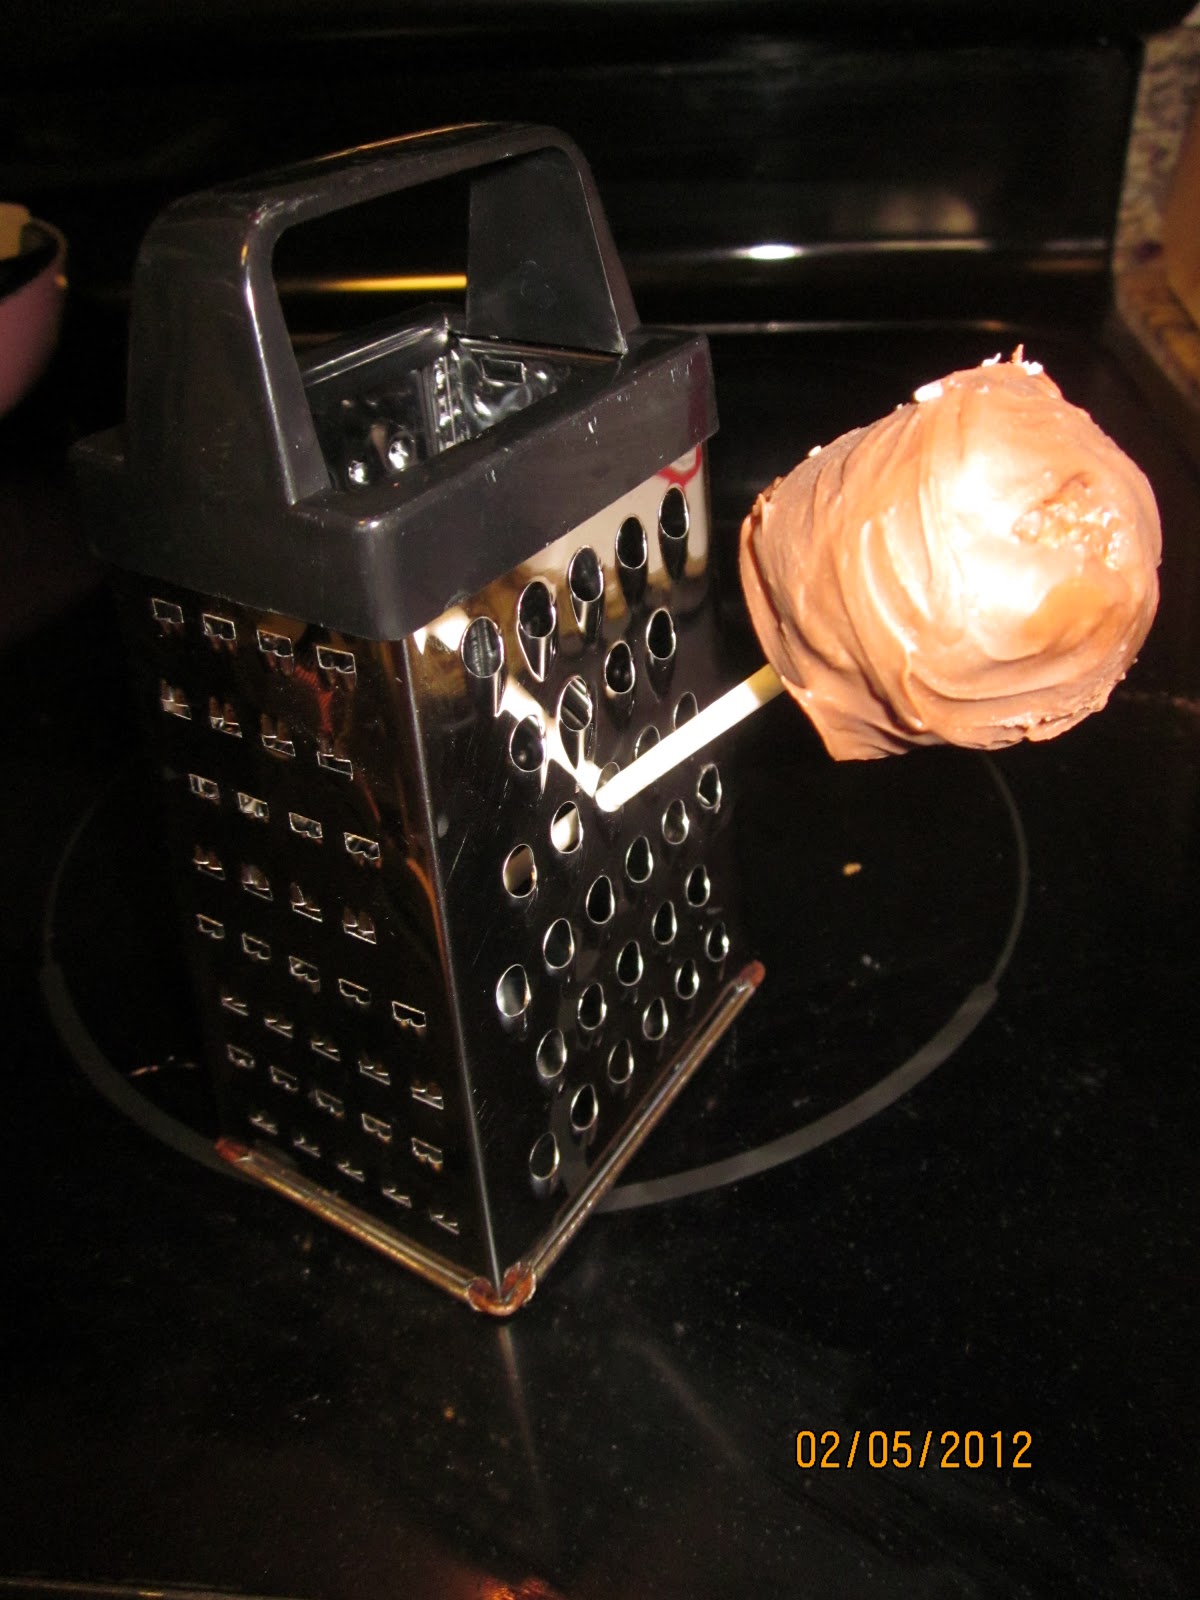
So out of the blue these cake pops have become the new "it" thing. I had never seen them until I was in Starbucks one day getting a latte. They look like a lolipop, but are a piece of cake instead (cake pop, get it? ah haha..ahem.)
So I decided to search how to make cake pops & quite frankly- it looks disgusting. One day my husband and I were with the girls at a store & I saw this cake pop maker and thought this looked so much nicer than the disturbing website. Eventually after making fun of me and saying I was a walking infomercial we bought it (yipee!)
So I get my new toy home and I'm still as excited as my five year old to have something new. I couldn't help it I had to open it and try it out. So carefully I read the direction (Now, if you know me... I really hate directions- which is ironic that I am making a blog and giving you all directions.) I grease the cute little dips and mix up my daughters favorite cake (
Vegan Chocolate Cake).
I plug it in and eagerly wait for the little light to turn green. Finally it does and I'm ready! Or so I thought. First I over fill the mold because there isn't any spoon in the box to tell you the perfect amount, no biggie. Until I tried to lift the lid & all the cake go stuck to the top and kept breaking. Heart breaking honestly.
So I make cake pops out of...deformed cake pops? and decide I will attempt both ways to see which is the best way to "cake pop" I threw the broken first batch into a bowl to use later.
I re-grease the baby cake mold and try again, using much less batter & close the lid. So far nothing is oozing out the sides (that's a good sign) When the light turns off I slooowly open the lid- nothing sticks (hey this is working out) When I looked I was excited. I actually get a good back outta this thing (yaaay!)
Yes I consider these a victory. Shush.
After I grew bored of the baby cake maker I decided to try the "old fashion" way and follow youtubes video directions. (What you'll need: fully baked cake, icing, lolipop sticks, candy melts- in lots of colors) Which is this:
*Bake a cake in your favorite flavor. Let it cool completely before crumbling it into tiny pieces into a bowl.
* Add 1/4 cup of frosting to the mix
And...mix it up. ( I chose vanilla with chocolate cake because I thought chocolate would be way too sweet). Mix it until it's kinda pasty looking.
And nooow you're ready to form the balls! ( Or because this is able to be shaped, shape them using cooking cutters!) Make sure you butter your hands (I am serious) or the dough will stick to you.
Let's see I have some round circles, Mickey Mouse, a butterfly, Wizard Mickeys hat (yeah you'll never see that one!), a tulip and some other shapes that I've already forgotten..
If you want to make a cupcake shaped cake pop, start with a large circle and a flower cookie cutter (purchased from Michaels in the cake decorating department- with a coupon). push the flower cutter from underneath , leaving the top still round. (see above photo- yes that is butter on my hands :) )
Once you have all the shapes you want it's into the freezer with them for a couple of hours.
In a double broiler (if you have one. If not the Macgyver version is a glass bowl on top of a regular sized pot filled with water works. Turn the stove on and mix the Candy melts until fully melted. Dip the top of your lolipop stick into the candy melts and insert them into the cake pop. Let them set before dipping them into the melted candy twirling them around to fully coat them. Let stand. (I have see a make shift stand made out of a cereal box with holes in it. Thanks to my trusty cake pop maker I have an actual stand.
Baby Cake maker Vs. Handmade cake pops

The one on the left is from the Baby Cake maker it is a very nice round shape and light to eat. The one on the right is hand made (it's a little smaller, but more solid)
Now, after Easter we had an abundance of egg shaped candies (and quite frankly it's October and we still do!) So I decided to try using milk chocolate candies too.
Sadly, the baby cake maker cake pops get stuck in the mix. Even with the candy melts, I had a lot of tearing and breaking with the Baby cake makers cake pops.
Then I noticed because of the "airy" center of the Baby Cake cake pop there was nothing to hold it up with & alas gravity did it's job (Thanks a lot
Sir Isaac Newton)
My end results were really not as bad as trying to make them. Below on the Right is the Baby Cake cake pop (which I eventually got to work) and the chocolate covered one is a regular homemade cake pop.
My review:
They both taste the same. The homemade ones are a little sweeter because of the icing that keeps them together.
The Baby Cake cake pop maker is nice, but a lot of hassle & it hates Vegan cake.
----------------------------------------------------------------------------------------------------------------------
ALTERNATIVE
Melted frosting
Baby Cake cake pop test #2