Wednesday, January 4, 2012

Acessories for A.G pets


My daughters got a cat and dog for their dolls and wanted accessories for them. I pulled out our Pluffy stash and began working. Pluffy is some crazy play-doh type thing that you find at a craft store and it does not dry out unless you bake it. They are serious when they say that, I have some pluffy in my carpet from a year ago that it mashed in there pretty good.

I figured the they would need a water bowl, food bowl and a toy of some sort. So I started molding my left over pluffy into the shape of a water and food dish. Which is basically a circle with a flat bottom.

For  water we put a tin layer of blue pluffy down in each bowl. For Pepper we added a bone and for Ginger the cat, she got a fish. When I was done shaping the dough I placed it on a cookie sheet and baked it until it was done. (please refer to the package for time). When it was cooled we used a Sharpie to write his name on the bowl.


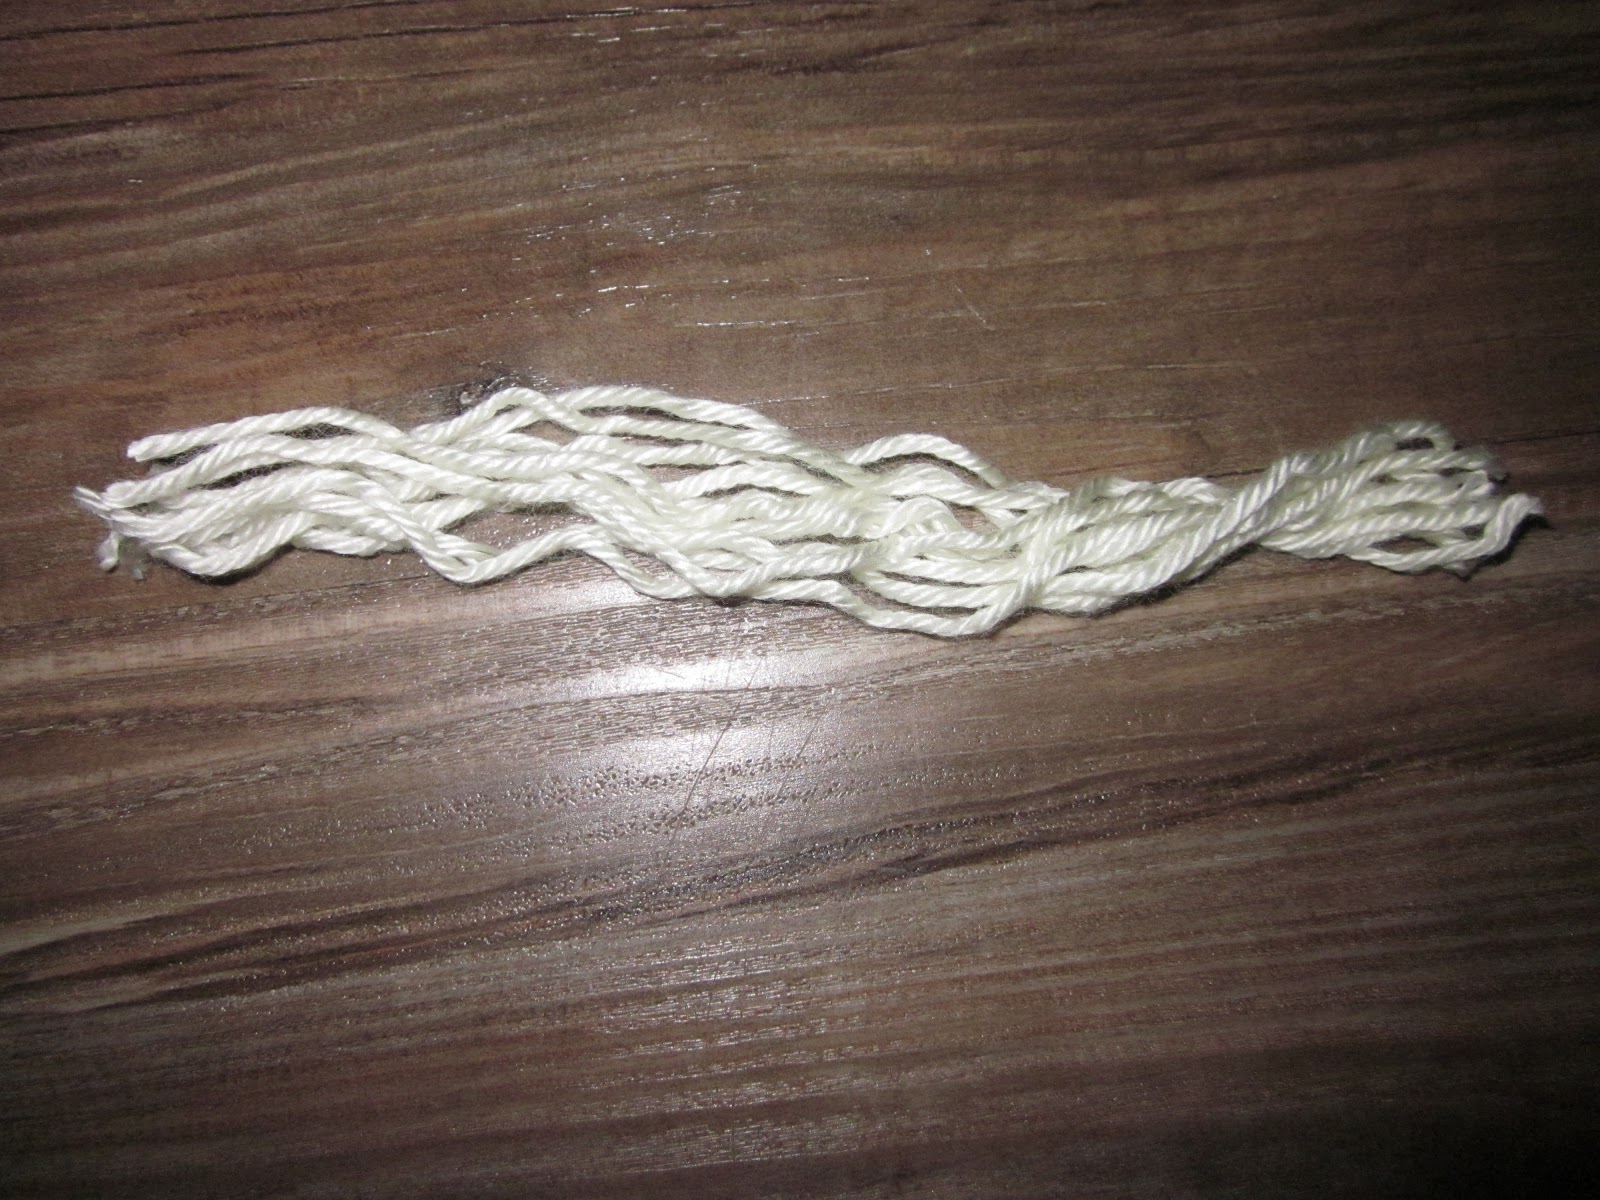
Then we decided Pepper needed a pull toy to play tug of war with Elizabeth and so I pulled out my yarn and wrapped it around my fingers. I think I wrapped it about ten times.


snipped the end


then tied off each end.


now your doll and dog can play!


For the Cat:

We have: Water and food bowl, a ball of yarn and a collar.

The food dishes are made from pluffy, the collar is a bead kit and my daughter made it. The ball of yarn is part pluffy and part yarn (this was it doesn't unravel)

I started with a ball of pluffy and baked it until done. I added glue to one side and began wrapping yarn around the ball


 Then when it's all covered in yarn, add a little more glue to hold it down.


and then cut it free from the whole yarn. Ta-da!

Again quality wise it's pretty nice (not AG though) but sometimes it's fun to get creative yourself!

Tuesday, January 3, 2012

Other American Girl outfits


Here are my other American Girl Doll costumes I've made:

Peasant Snow White


Disney Snow White


Mermaid 


Disneyland Ariel


Regular Rapunzel


Fancy Rapunzel


Lemon Meringue from Strawberry Shortcake


Plum Pudding from Strawberry Shortcake


Altering American Girl patterns

So my daughters love their dolls, but don't seem to pick out the outfits from the American Girl magazine. They want something like: Belles peasant dress.  So that is what we're working on today.
(Disclosure: this is not for beginners. You should have experience making these outfits or costumes in general before attempting this!) Also it helps if you can kinda sketch.


You will need:

*The original pattern (Kirstens apron dress is very favored by me) You can get here: American Girl Pattern/Free!
*Old newspaper/flyer
*marker
*idea of the shape(s) you're looking for.
*29" of white ribbon
*Thin white ribbon


Start by tracing the original pattern (front and back!) onto the newspaper in pencil- this way the pattern is visible, but not too dark and you can star the alteration.  I also folded mine in half to make sure both sides of my new patter would be even. Using a different color (marker) think about what the neckline will look like. Is it squared off (like Belles peasant dress?) is it a lower swoop neck? Belles is squared & also has thin blue straps. so that is what I did.


(REMINDER: This is Kirstens Apron dress- it is a little small when you print it! be sure to add a little extra on the sides) Check out what I mean here: Getting started on A.G pattern


Make sure you trim some of the back too so that when you cut out the fabric, they line up at the top and bottom:

BEFORE: notice the back pattern has thicker straps)


AFTER: even!


When you think you have it right, cut it out & open it up. You should be able to have an idea of what your dress will look like, just based on this:


Remember You don't want to cut it too low- you'll be hemming it later.

Pin the new pattern onto your fabric (you may want to make a test top on fabric you don't care about if you're new at this) and cut it out. I usually don't leave big gaps in my fabric, but I knew I would need a longer skirt (see later directions)


I also know that Belles skirt piece is much longer (and not as gathered as Kirsten's Apron dress.)
So I have folded 1 1/2 inced of the patter (see picture below) placed it on a fold- This way it has less fabric.


I have also cut an extra couple of inches in length so that it will go down to the dolls ankles, instead of her knees.

I sewed the skirt together  & then took the time to "hem" the bottom (fold the raw end of the fabric up to the inside and sew it down so that it looked nice and clean at the bottom (picture not included)

Next you're going to need to gather your skirt. Gathering is to pull the fabric together by taking a long piece of thread (knotted at the end!) and weave it in and out of the fabric the same length apart.

WEAVING: (notice how the needle looks like it is gong in and out of the fabric...aside from the fact that it is ;) )


AFTER:

When you have finished gathering the fabric you can gently pull the thread to make the fabric a closer fit (should look more like the photo above now).

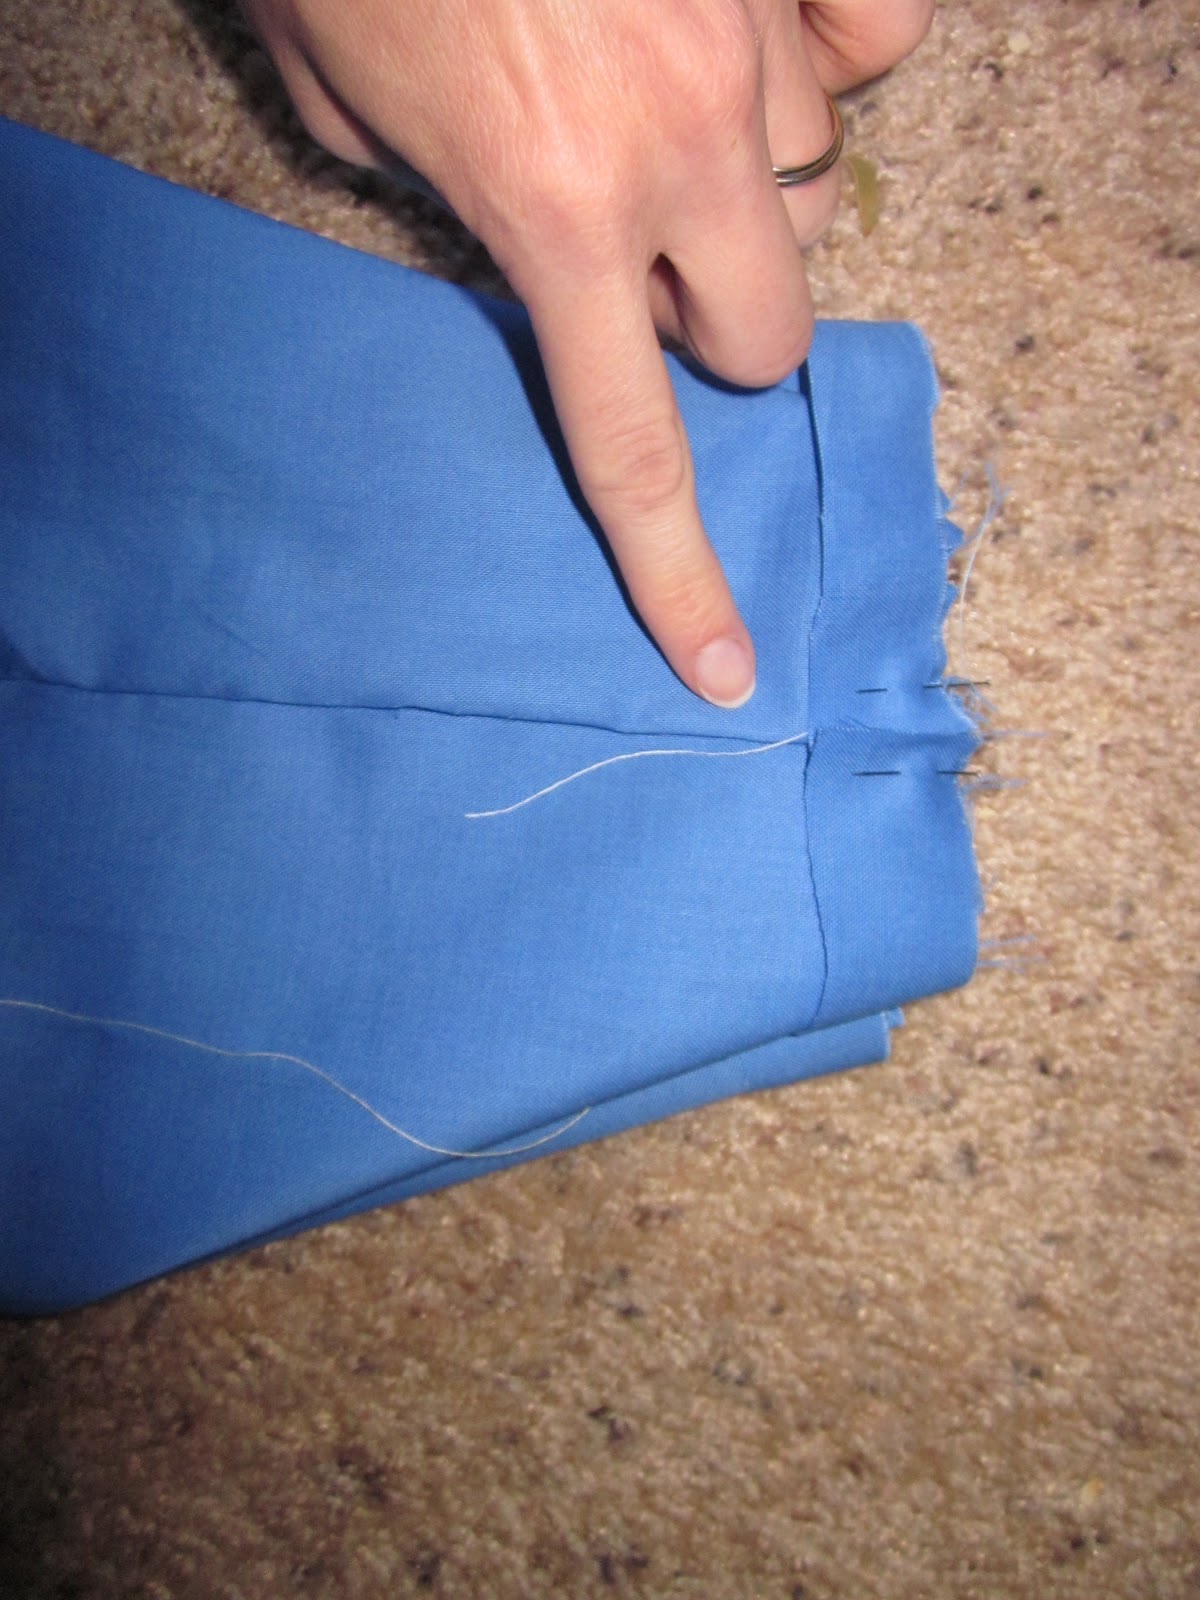
Next you need to add the waistline into the dress. I like to make sure mine is even so I line the ends of the waistline up with the back center seam of the skirt and pin it down (make sure you pin "right sides" together!)


Then you're going to need to pin the rest of the skirt to the waistline so that you can sew it together (make sure you pin every so often or you'll miss a gather!)

Now we need to get working on the white under shit of Belles dress that will be sewn to the blue top (which hopefully you're already cut out) remembering to add extra fabric on the sides!


Alerting the sleeves. I made them longer and  less curved.

Pin right sides of fabric together and sew up (both blue top and white top) You can take the time now to try it on your doll to make sure it fits well (It would really suck to finish the whole project just to have it not fit. Believe me, I know).

When you're ready hem all the raw edges of the dress ( I like to do this last because, well then everything is smooth).

sew sleeves together. make a hem big enough to slip the tin white ribbon through to make ties for her sleeves (it's something I noticed about her dress while watching the movie).

turn sleeves right side out. place blue fabric over white and line it up  properly before pinning the sleeves on.
Pin Sleeves to shirt top and sew together. cut 29" of thick white ribbon for Belles apron, gather apron piece and stitch together:


Check out my other creations here:

Brownie bites

This is so easy. I don't know why I never thought of it before.


You'll need:
Brownie mix (or your favorite recipe)
mini cupcake pan
powder sugar (optional)
frozen Hersheys kisses (optional


Make a box of brownies according to package. Pre-heat the oven to 325 degrees and freeze unwrapped Hershey kisses (optional). Line mini muffin pan with wrappers or spray. scoop mix into pans and bake for 20-22 minutes (or until done). let cool for one minute and sprinkle a little powder sugar on top and push frozen kiss into brownie bite. Great for any party.

Babycake maker vs. Brownie mix

So I figured since yesterday pancake mix worked so well in my babycake cake maker I'd try brownie mix. Yeah, that was stupid.

So I started with my mix


I have to use sugar-free...otherwise my dentist get's money and lets face it. I don't want to pay them.

I pour it in


and let it cook....


and cook some more (because they weren't done)

Then I thought they were.


but they weren't


:(

Moral: Don't bake brownie mix in babycake maker. They MIGHT have come out better if I had let them cook longer than 10 minutes. However, they would have been really crispy (which it was already pretty crispy). If you want bite size piece try my other way:
Brownie Bites

Monday, January 2, 2012

Pancake puffs

So I've been thinking about my babycake cake pop maker and wonder "What other things can you make with it?" Answer: pancake puffs and donuts (so far-- I haven't made to donuts yet)These are a healthy version of Denny's pancake puppies.


That's syrup in the above left tray for dipping!


What you'll need:
pancake (mix or scratch- thanks Costco for providing me with "economy" or as I like to call it "American Size" pancake mix!
Your babycake cake pop maker


Spray babycake maker with cooking spray before use (ignore their directions- if you don't spray it, it sticks)
Pour batter in and cook for four minutes.


enjoy!

Sunday, January 1, 2012

Krispie Kreme Donut knock off

I love donuts :) It's my guilty pleasure.


KRISPIE KREME DONUTS!!
    1 cup scalded milk
•    1/4 cup butter
•    1/2 cup sugar , divided
•    1/2 teaspoon salt
•    1 tablespoon yeast
•    2 eggs (beaten)
•    1/8 teaspoon nutmeg (half of 1/4 tsp!!)
•    3 1/2 cups sifted flour
Glaze
•    1 1/2 cup powdered sugar
•    1/4 teaspoon salt
•    1/4 teaspoon vanilla
•    1/4 cup cold water


Directions
Mix together ingredients for glaze.Melt butter in hot milk, add 1 tsp sugar and salt. Allow to cool. Beat in yeast, nutmeg, eggs, remaining sugar, and cups flour.Add rest of flour (dough will be sticky).Knead for 5 minutes then allow to rise for 1-1 1/2 hours.6Roll out dough, cut into shapes. Do not re-roll dough, then allow to rise for 30-45 minutes.


Heat oil to 365° ( Between the 3 and 4) and fry 1 - 2 minutes on each side or until brown.


Toss in the doughnut holes first, let those cook, and then proceed to cooking the donuts.


let them cool on a paper towel - helps get the glaze to stick. Dip in warm glaze.