
Basic tools:

Most of my embroidery thread & packaged on the right is cross stitch fabric with my sewing scissors on top.
A list of the tools you'll need:
*Needles (they do make dull edged needles if you're worried about getting pricked)
*"Floss" or embroidery threads (there are numbers on them to help you use the right colors later when you're working on patterns)
* Hoop (optional)
* Cloth (be careful. They come in different size- 16 count, 20, 22. These just mean how many squares per inch. The bigger the number you go, the smaller your pattern will turn out)
*Deep organizing box for your threads (optional. A ziploc works great for first time projects too)
*Plastic bobbins (again, optional. they store much better this way though)
The best way to store your threads.
buy a some plastic bobbins and a deep organizing box to store them in. Usually when you get your thread it comes wrapped in a paper tube.


Alright. Now that you've got your supplies, it's time to learn to cross stitch.
How to Cross stich
Take your cloth and hold it ( using a hoop is recommended, it keeps the fabric and the stitches straight. Not to mention it's easier to hold.)
With your needle threaded (knotted at the end for beginners) put the first stitch in (going diagonally from one top hole to the opposite hold at the top)

Next go to the other corner and do the same thing. (this will make your X)
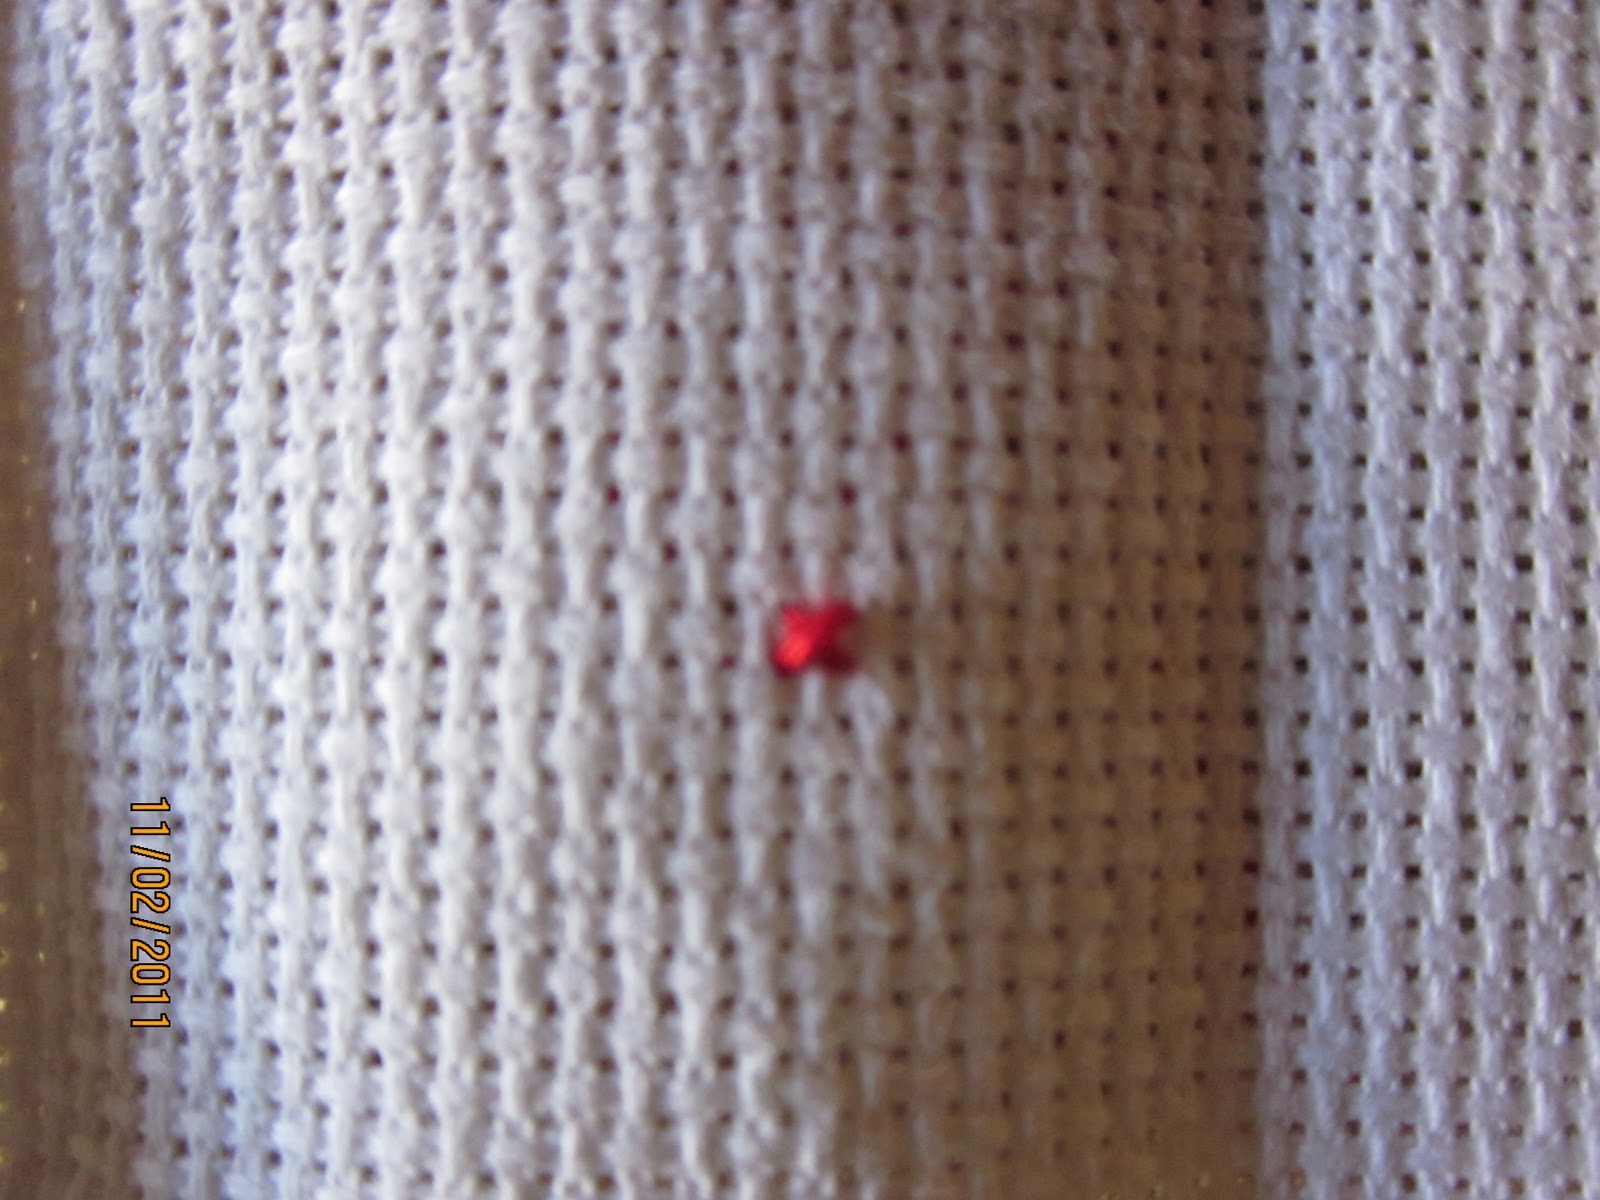
That is the BASIC step in Cross-stitch. Make sure that all of your top stitches face the same direction to ensure a smooth finished project.
No comments:
Post a Comment