
Using a Cross Stitch kit
This is a Mickey Mouse Cross Stitch KIT that I bought at Michael's on clearance. The best part about buying a kit is that it comes with everything you need to make the image on the front. If you're still learning to cross stitch, click here to find out how.

You'll notice when you open up the kit that the pattern is printed onto a piece of paper. The image of the character is made up of small symbols (sometimes numbers).

This is your guide to which color goes where. The first thing I do when making a cross stitch is separate out the colors from each other. You may need to hold some under light to help figure out where they go).
Most kits will give you an index card with holes punched out of it to help keep your thread separated until the time comes to use it.

Now it comes time to figure out which color means which symbol. To do this you need to find the part of your pattern that looks like this:

This comes in handy, because it tells you exactly how many strands "lengths" you should have of each color. I found it very difficult one time because I had four different blues. That little number off to the side helped tremendously. Write the thread numbers next to the appropriate color. It's good to have that on hand in case you need to buy more. Next find the spot on your pattern that looks like this:

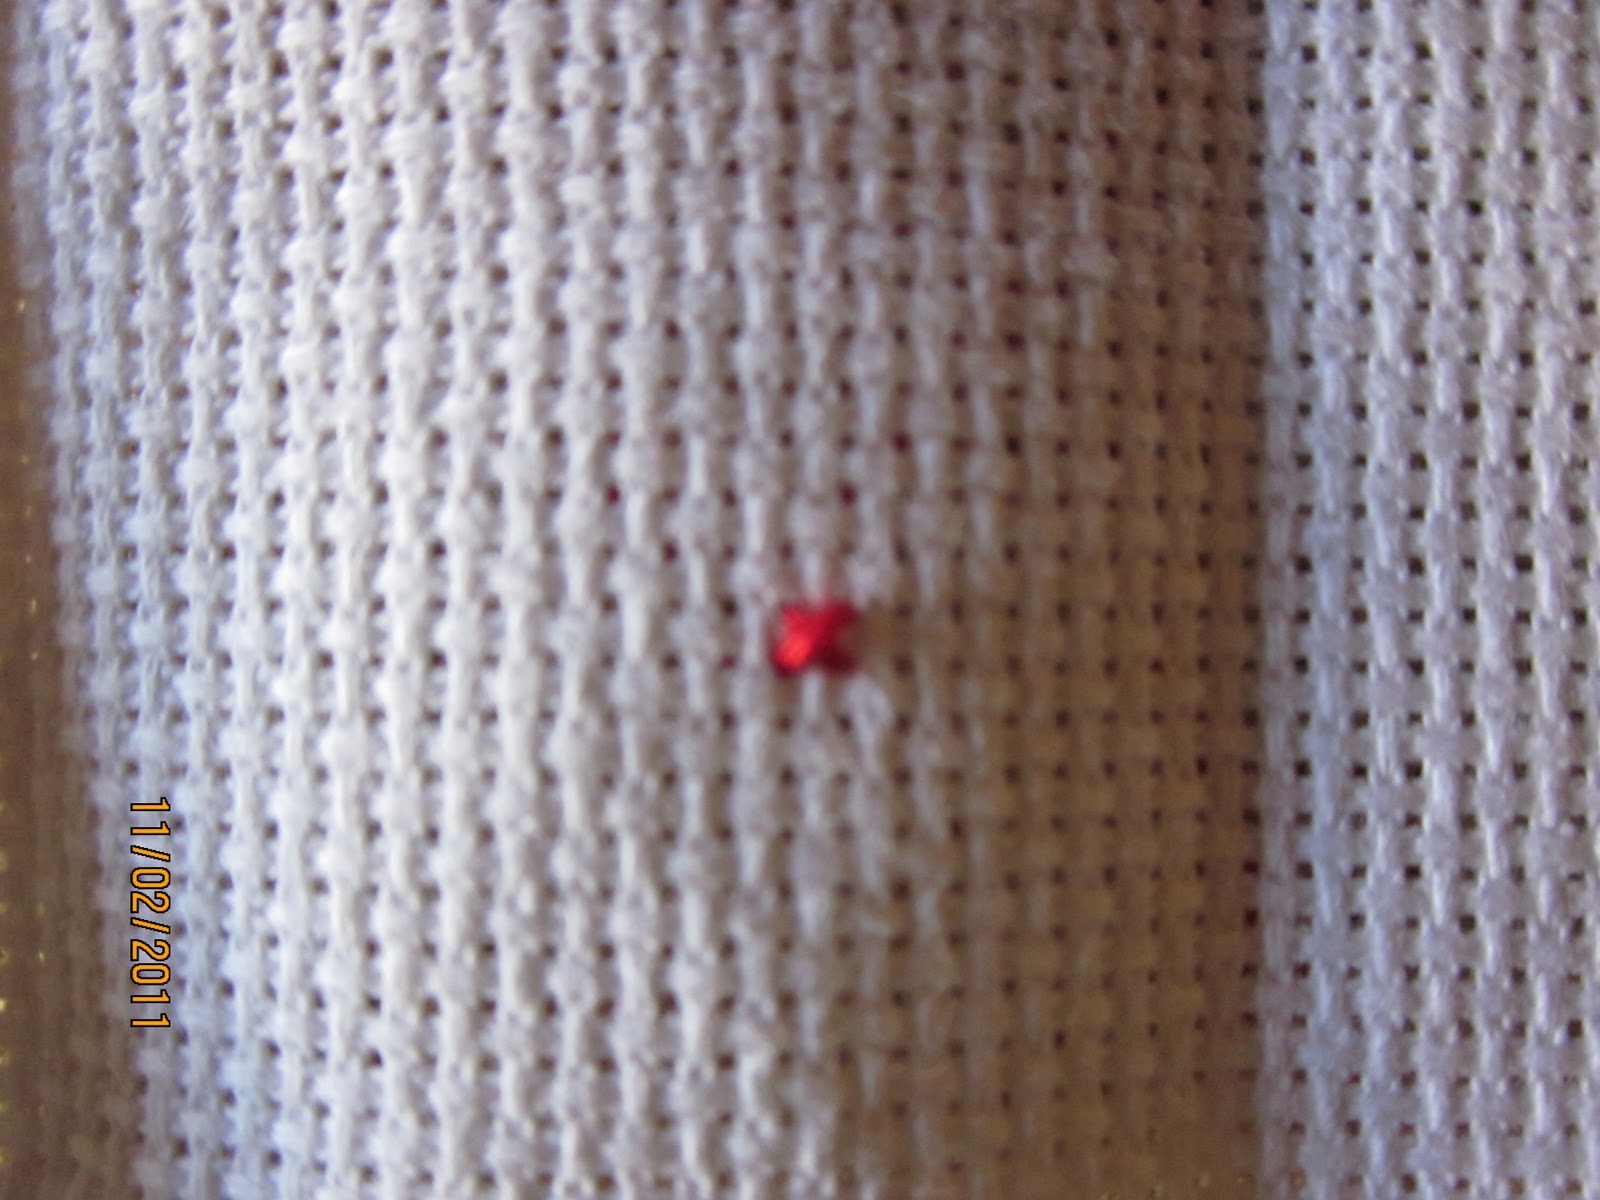
*note the X half X and 1/4 X (looks like half a slash) refer to whether or not you will do a full X stitch,
half


The numbers you just wrote next to the color have a symbol next to them. draw that symbol next to the color

each symbol represents one "square" on your cross stitch cloth. The easiest way to begin a cross stitch is by starting in the middle. Find out how here: finding the middle in cross stitch
No comments:
Post a Comment